

Today, we are making Holiday slime. It has been on my to-do list for a while now, and we are very excited to finally conduct this sensory learning experiment! Slime, besides being absolutely awesome to touch, is also an amazing science demonization. We love hands-on learning through play, and slime is a perfect activity to get children excited about chemistry!  What you need to make a homemade slime:
- 1/2 cup of liquid clear glue (buy here),
- few tablespoons of saline contact solution (buy here) or liquid starch (buy here); some use borax which also has some boric acid but we avoid using since it is toxic). Boric acid and sodium borate are the best slime activators.
- 1/2 teaspoon of baking soda, which helps slime firm up,
- coloring,
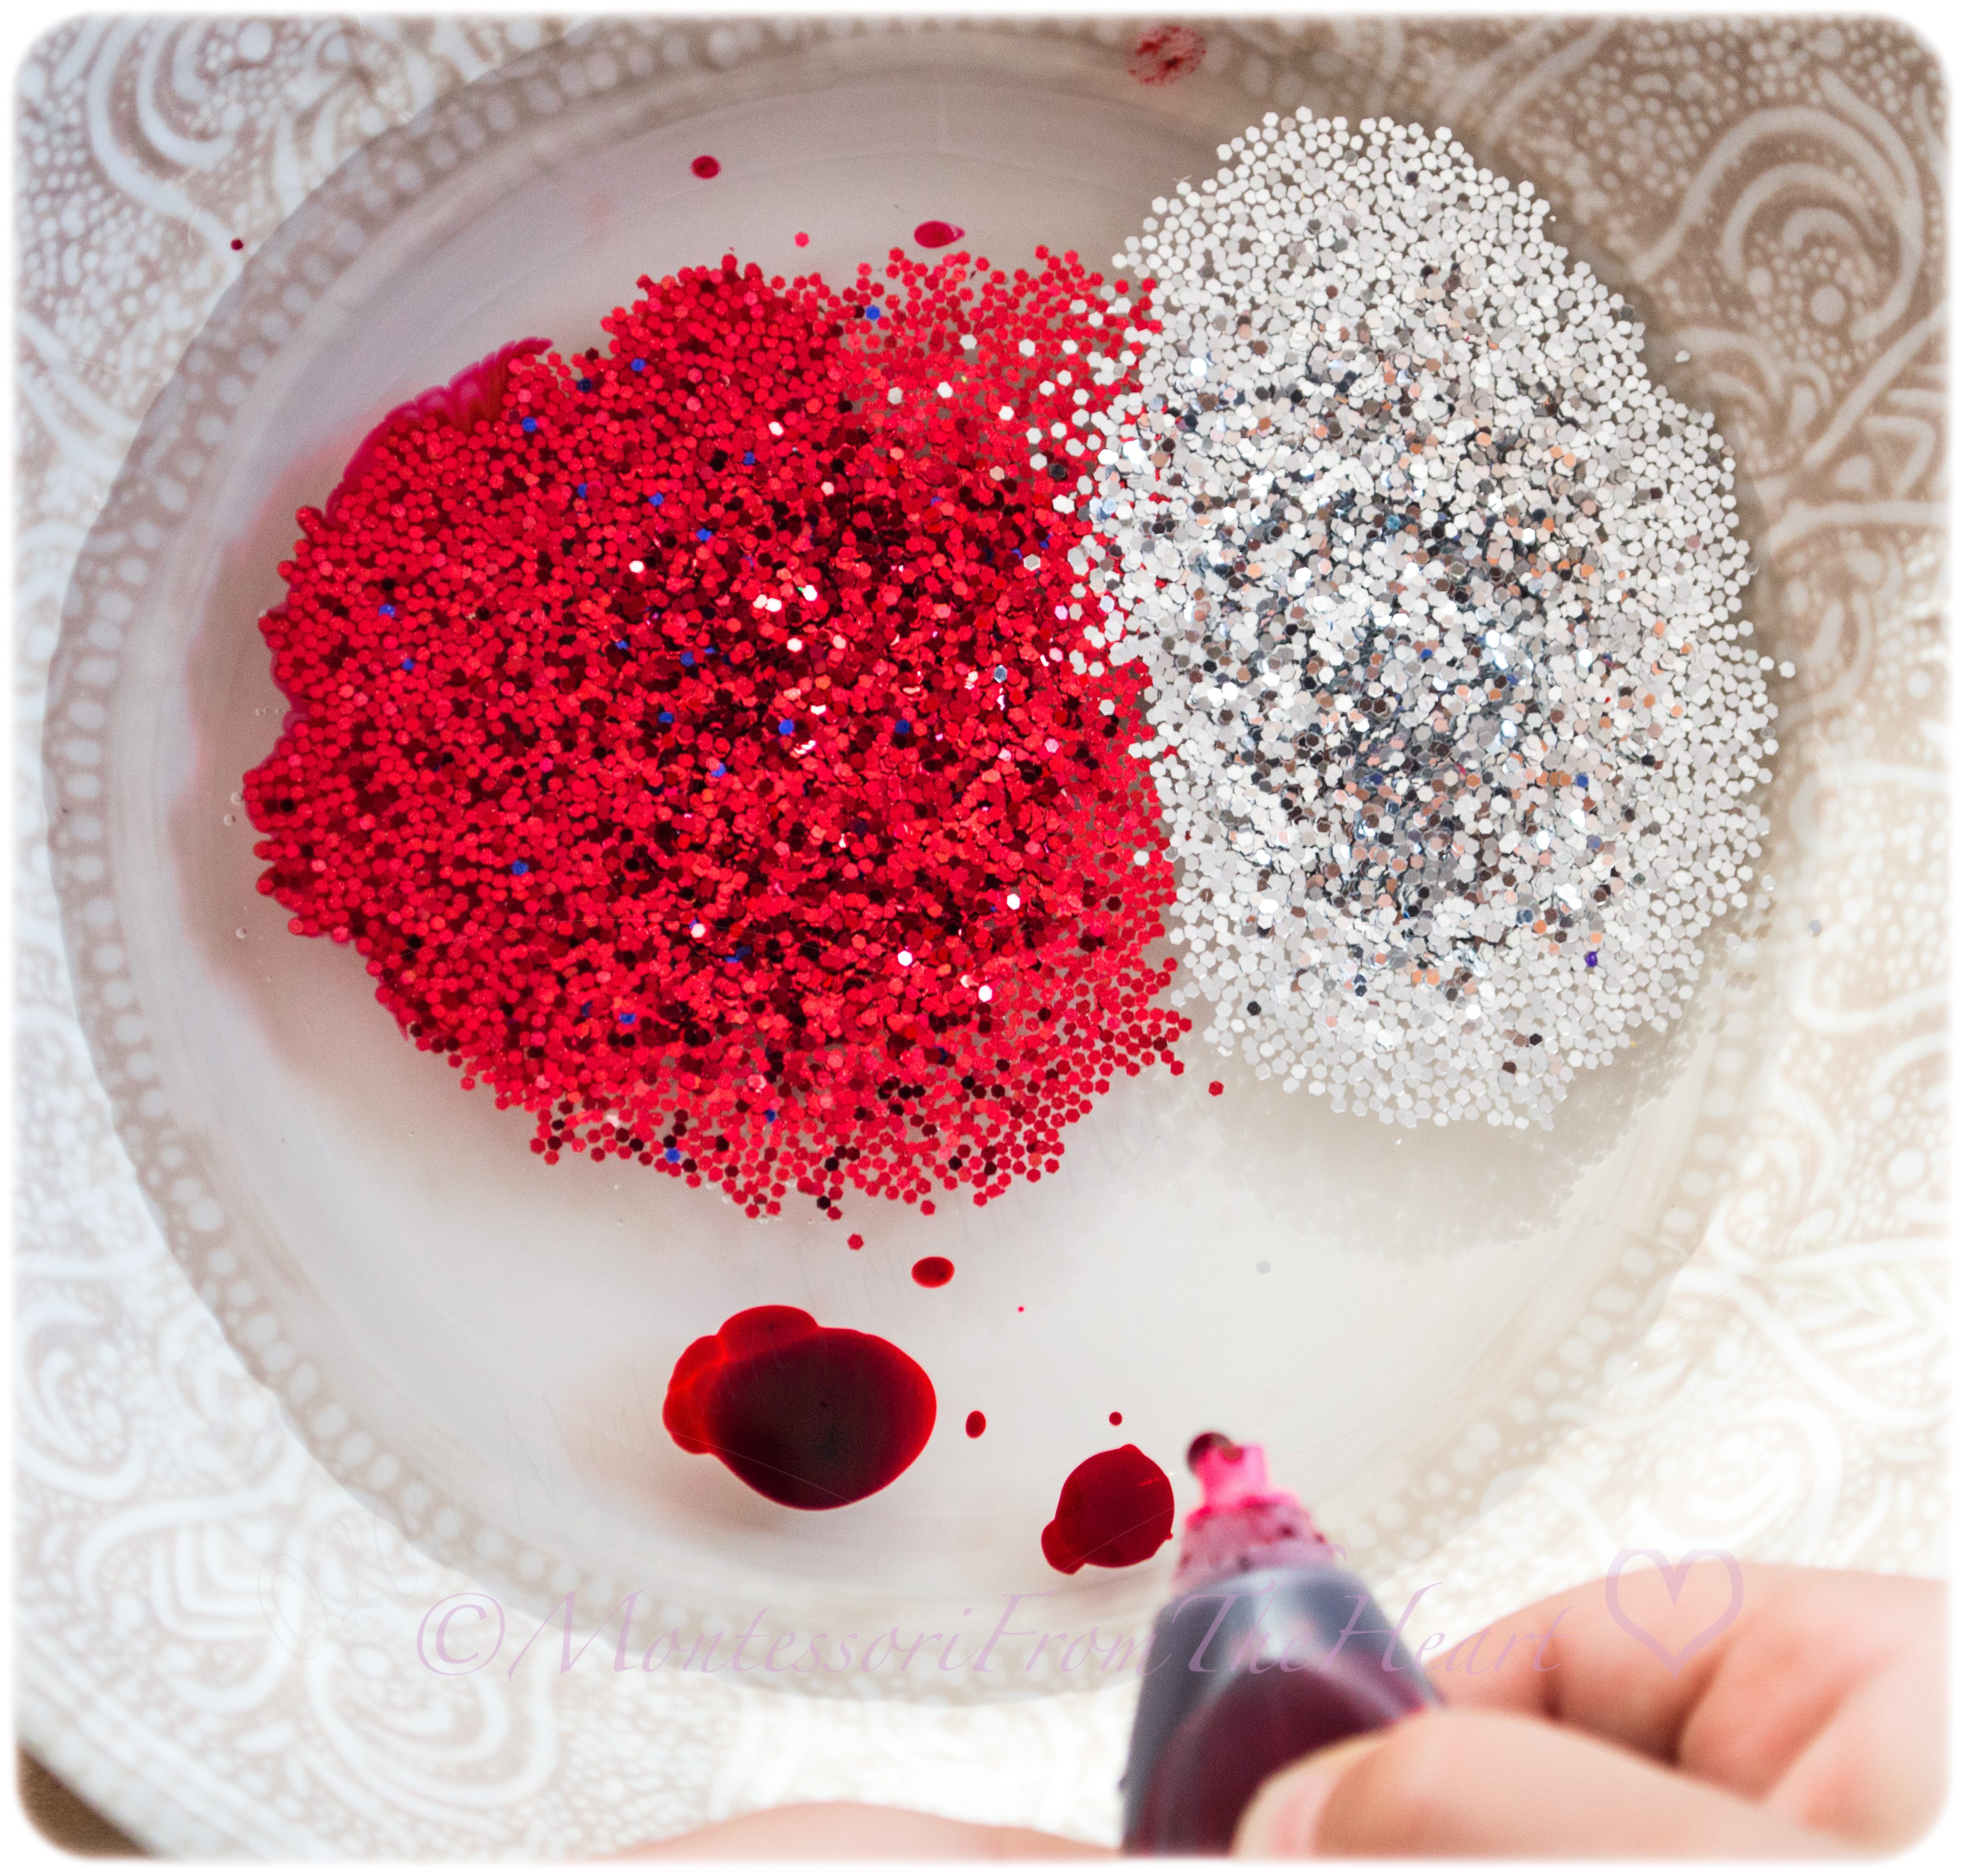
- glitter,
- slime foam balls (buy in bulk here),
- confetti stars.
 Pour glue into a bowl. Add glitter and liquid color. Stir until uniformly distributed.
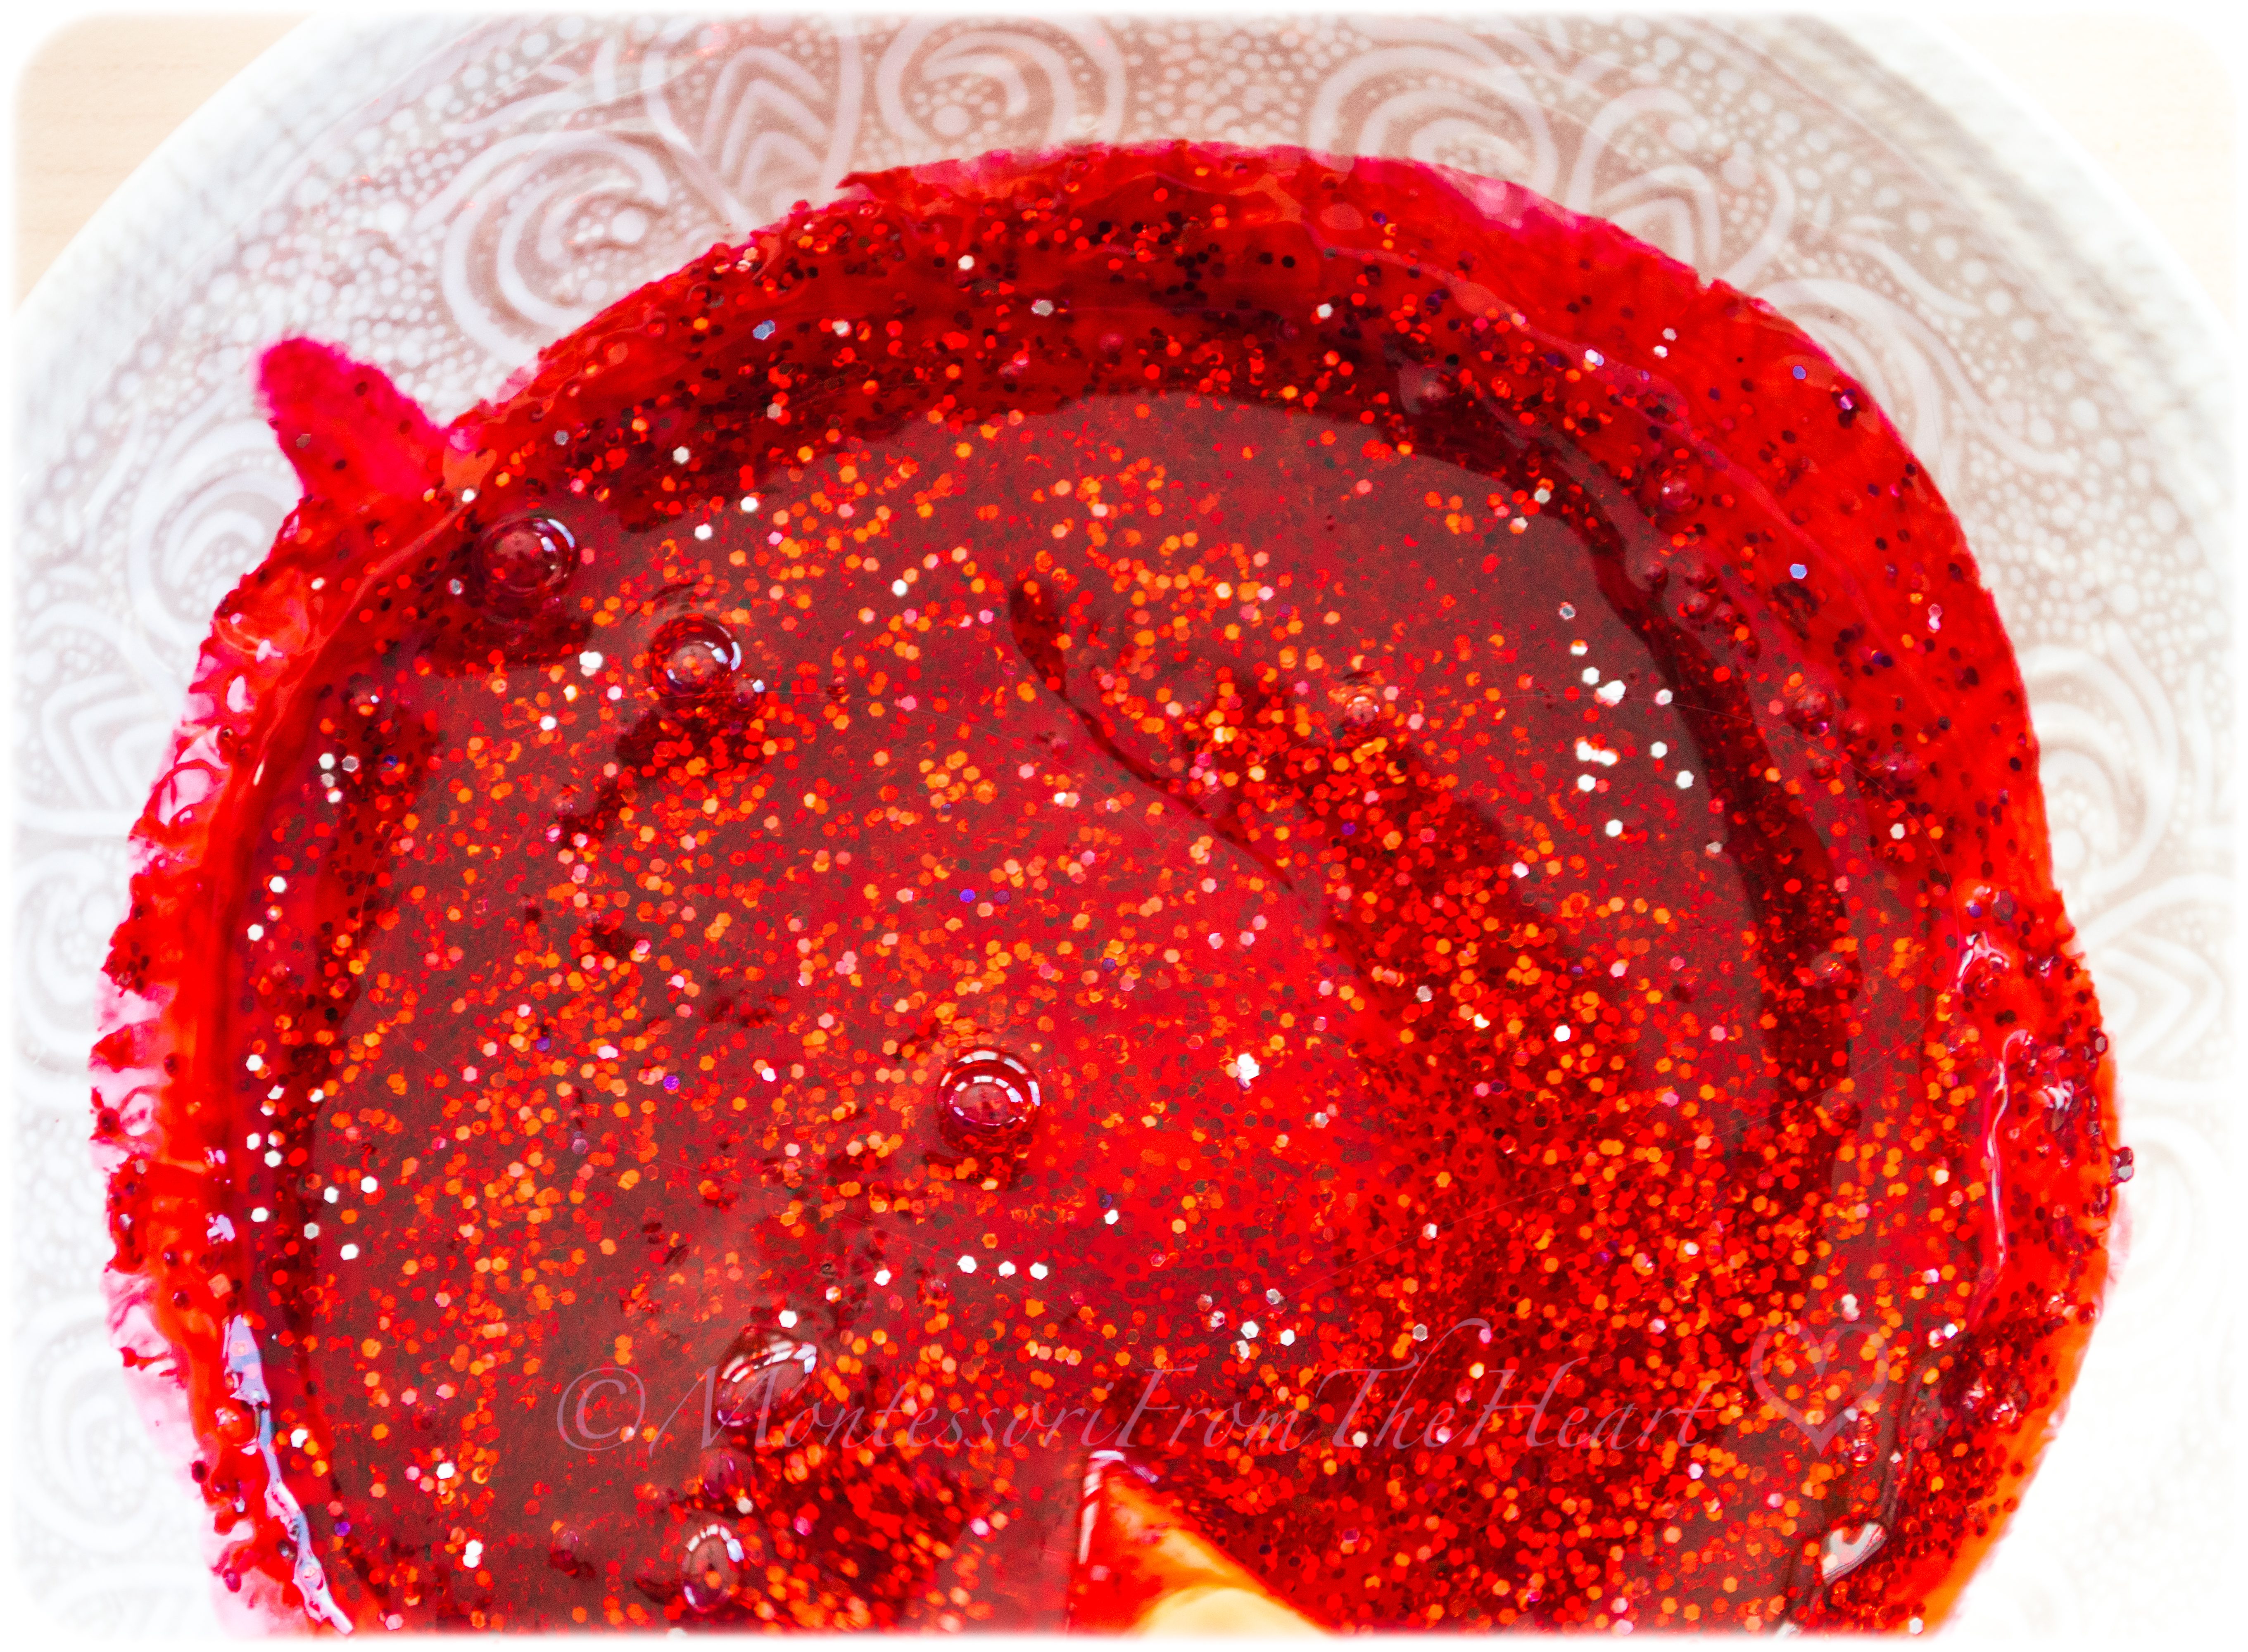
 Add contact solution and mix until thick and slimy.
 Add little styrofoam micro-beads to your slime to make foam.
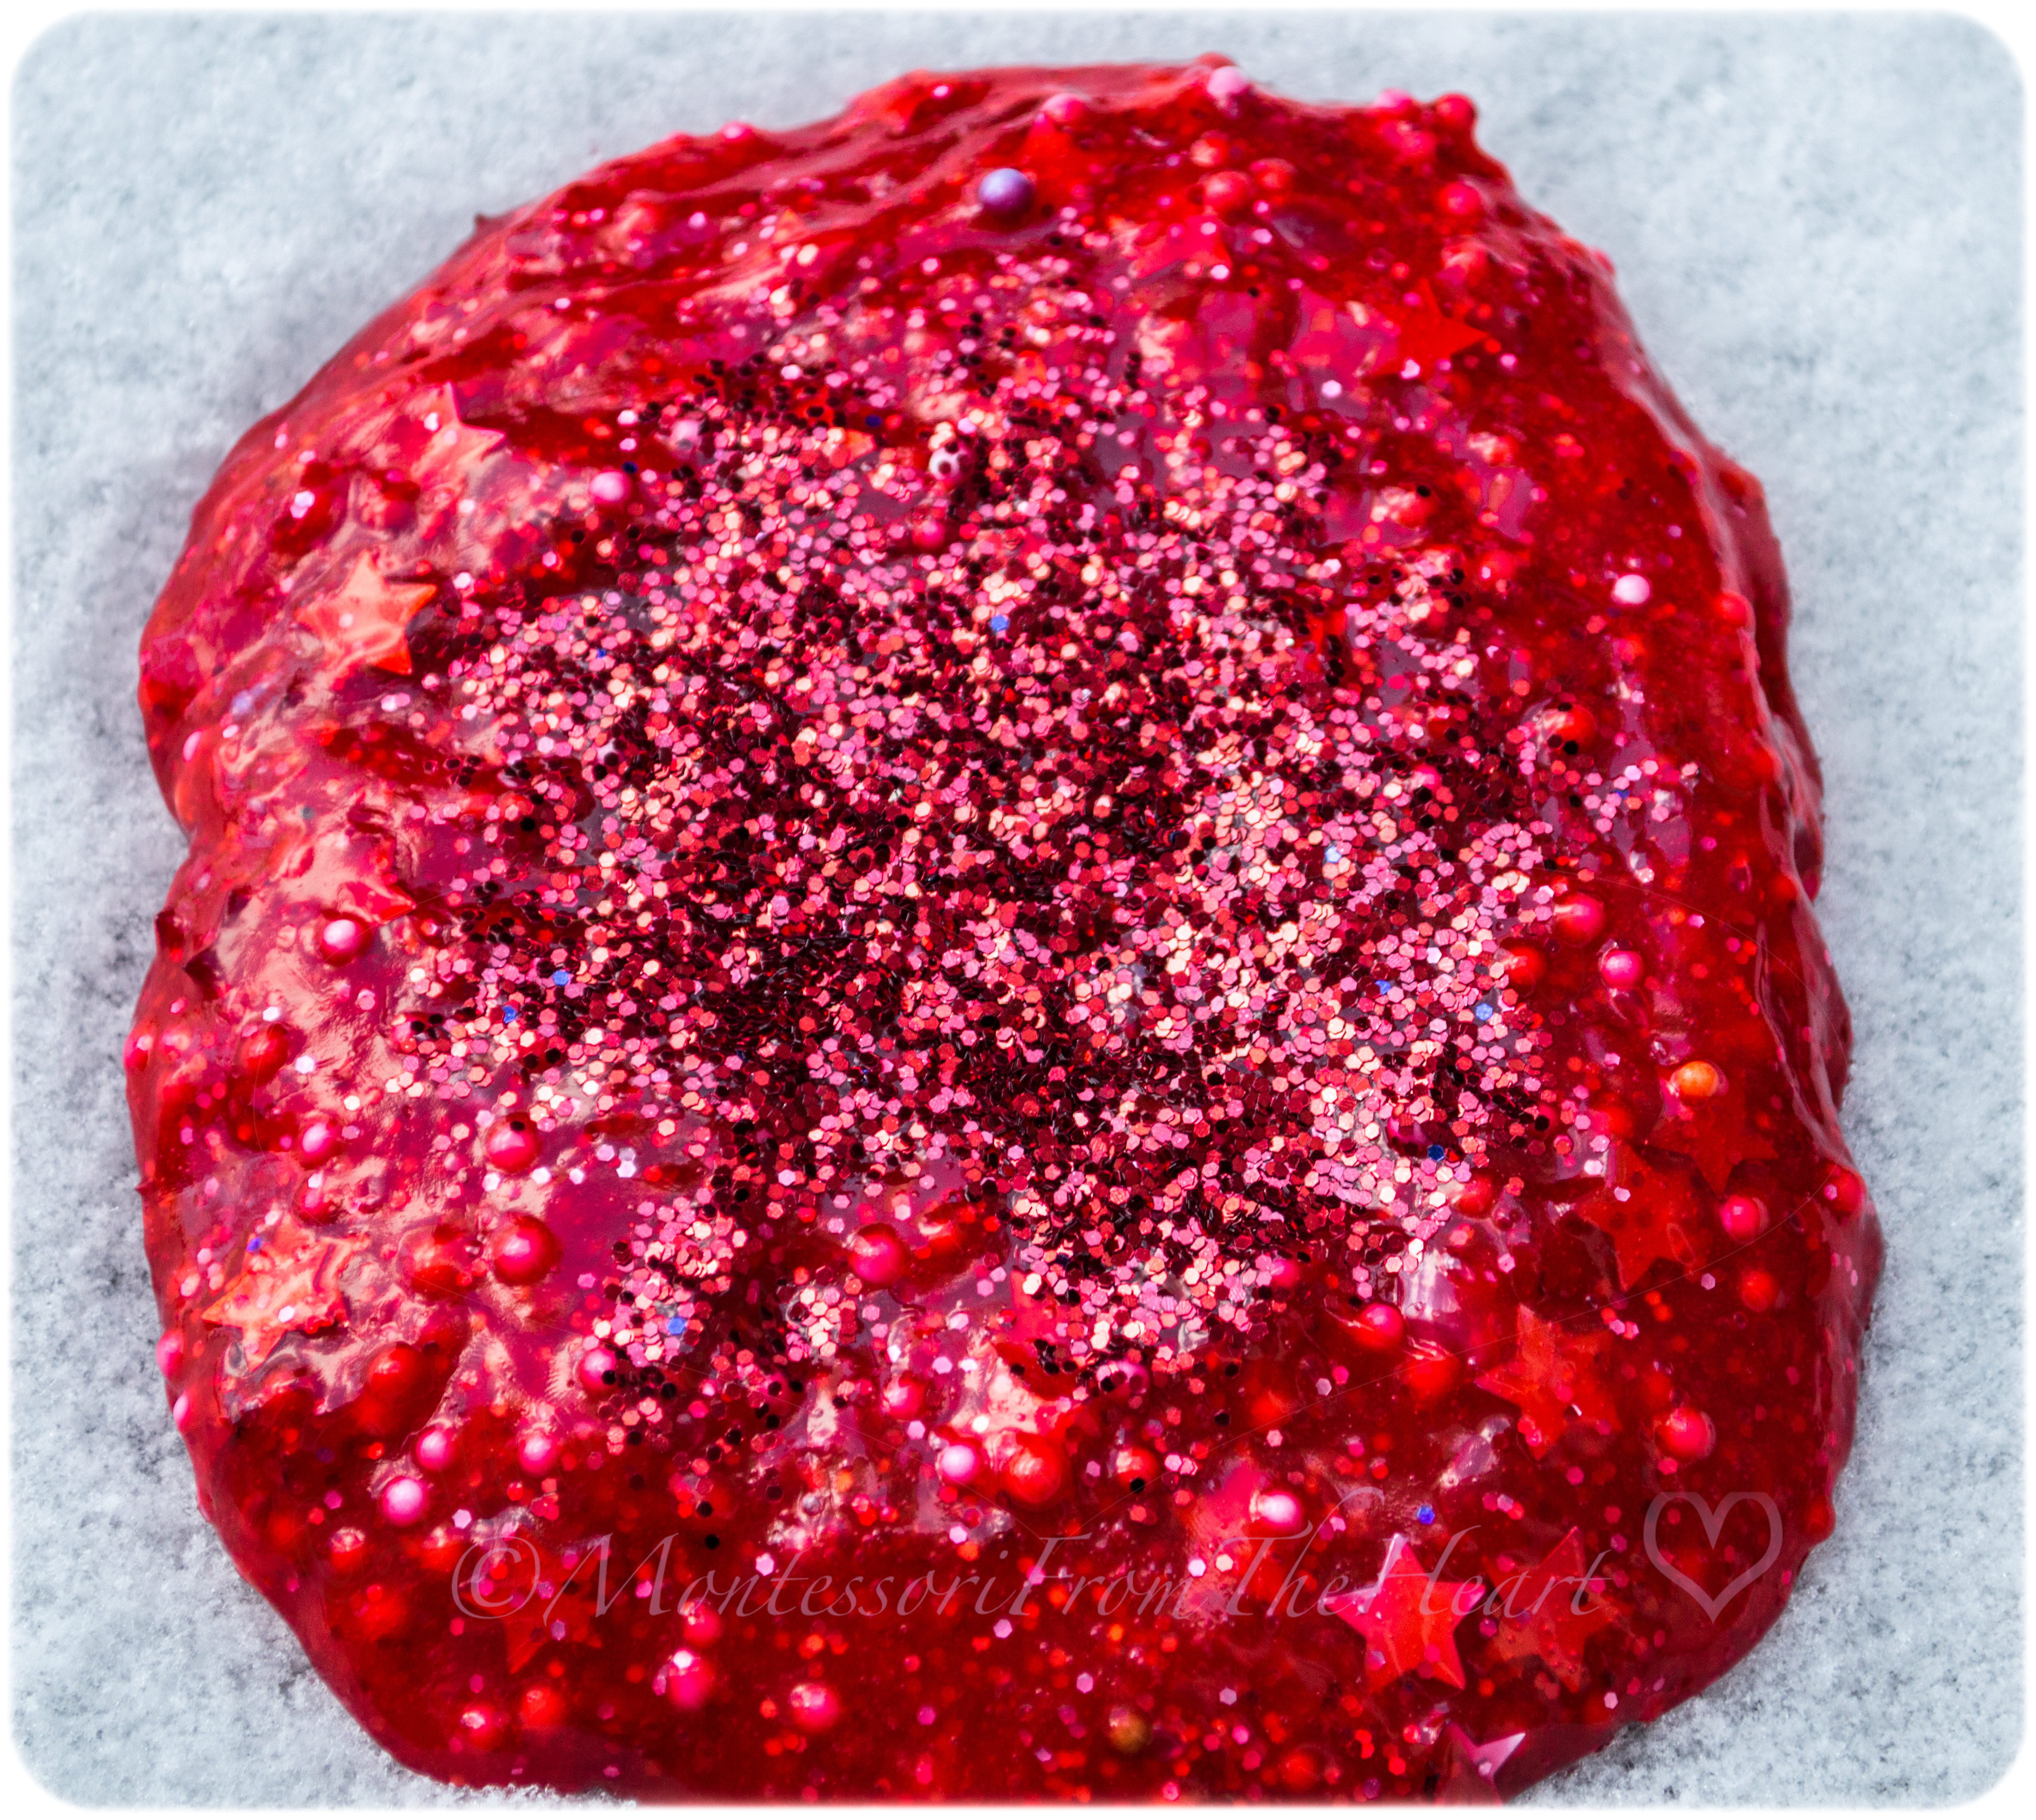
 Add star confetti and mix well.
 Mix and then knead the slime with your hands. If it feels loose, add more solution.
 Slime too sticky? Add more contact solution. Slime too hard? Add a little more glue.

What is the ⚗️ science behind the slime? Baking soda helps to firm slime. The saline solution is the slime's activator and helps it to get its rubbery texture. The slime will begin to form immediately thanks to the mixture of boric acid and sodium borate present in the saline solution. These two ingredients are cross-linking agents that create your slime! The glue is a polymer and is made up of long, repeating, and identical strands or molecules. These molecules with flow past one another keeping the glue in a liquid state. When you add the borate ions to the mixture, it starts to connect these long strands together. They begin to tangle and mix until the substance is thicker and rubberier like slime and less like the liquid you started with. The final step is to knead your slime. The slime is ready once it starts to pull away from the sides of the bowl.
 But where to store your slime which can last for up to a week?

What you need for this DIY Santa Slime jar:
- recycled baby food jar,
- picture of Santa (we are using a cover from a notepad),
- pompoms,
- a glue gun.
 Glue two large pompoms to the top of the jar.
 Glue Santa's picture to the pom poms.
 Fill up your jar with slime.
 Hot glue pompoms to make a beard and a nose.
https://player.vimeo.com/video/248832918
We love hands-on learning through play. Slime = science = kids explore, while learning and having fun in the process. And adding a craft element to the science experiment makes the activity even more multidimensionally exciting!
 Store your slime in a container with a lid and enjoy it for over a week.
 Our Santa is very happy to see White Christmas!

Wishing you a wonderful Holiday Season! Merry Christmas and a Happy New Year!
For more on Christmas Holiday inspired activities, see here a roundup post "🎄Christmas Inspired Unit Study ."
For more on slime, see here 🌌Galaxy Baking Soda Slime Borax-Free Kids Science Sensorial Experiment.


